
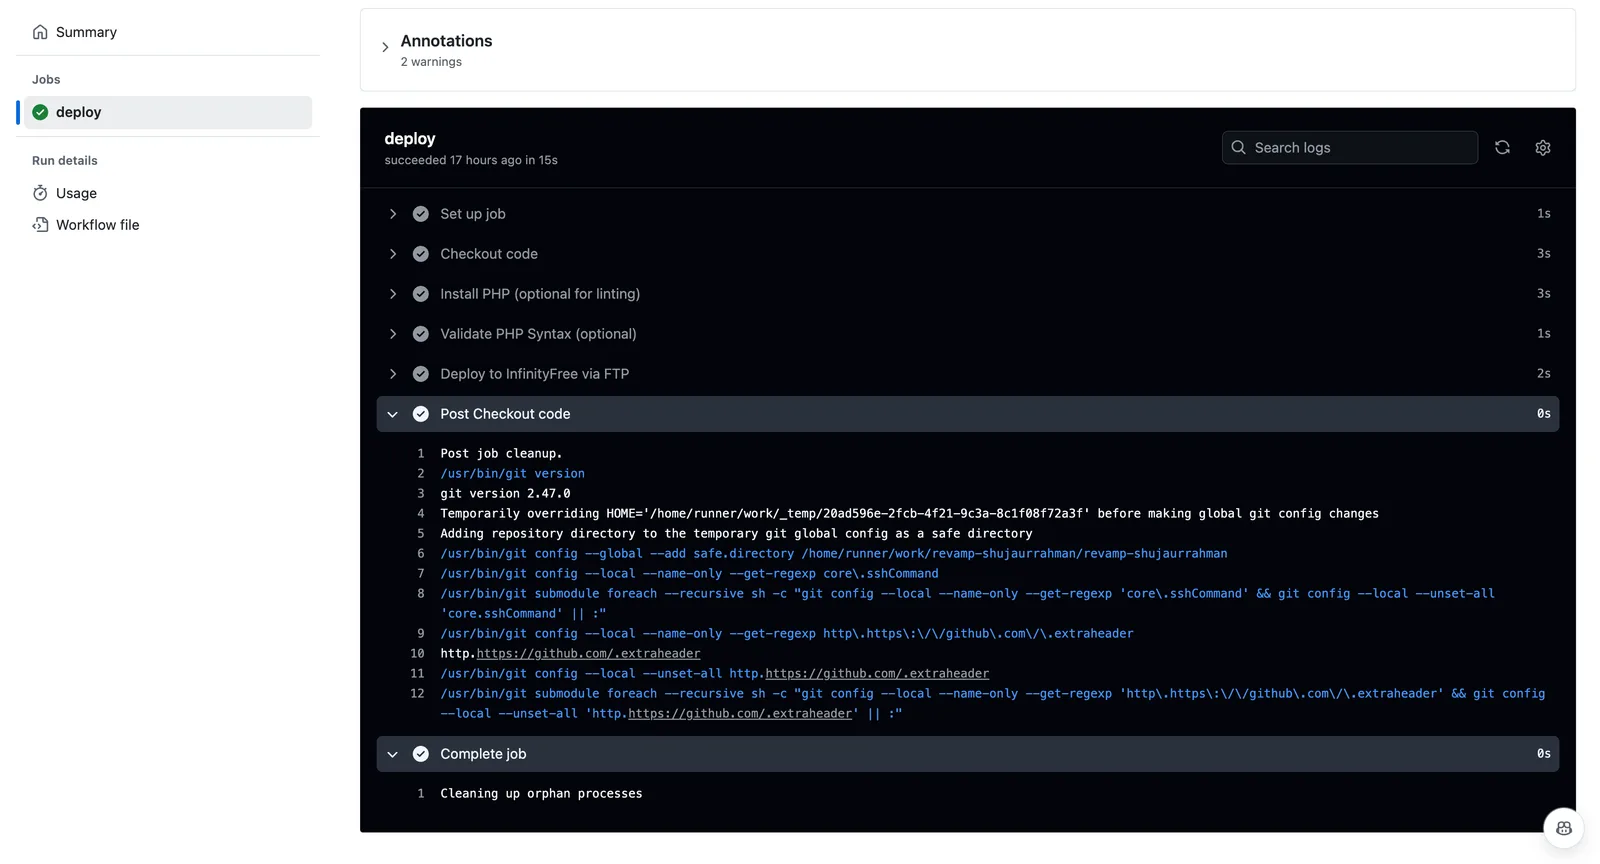
Setting up a Continuous Integration and Continuous Deployment (CI/CD) pipeline can save developers time, minimize errors, and provide a smooth deployment experience. In this guide, I’ll walk through how I set up a CI/CD pipeline using GitHub Actions for my projects hosted on InfinityFree, so that every change I push to the main branch is automatically deployed live.
Here’s a full breakdown of the process, covering everything from why CI/CD is useful to configuring GitHub Actions to make deployment automated and secure.
Why CI/CD and GitHub Actions?
Continuous Integration (CI) ensures that code changes are integrated and tested regularly, often at every push, so that updates are smooth and stable. Continuous Deployment (CD) automates deploying these verified updates to production, so every code change gets quickly reflected on the live site. Together, CI/CD allows me to:
- Save time by automating deployments.
- Minimize errors by ensuring consistency with automated workflows.
- Deploy updates instantly, with each change going live on my website without manual intervention.
With GitHub Actions, I can build these automation workflows right within GitHub, which means everything from testing to deployment happens directly within my repository. I used this CI/CD setup to keep my portfolio, subdomains, and other InfinityFree-hosted projects current. Here’s exactly how I did it!
Step 1: Setting Up InfinityFree for Deployment
Before configuring the GitHub Actions workflow, you need a few details from your InfinityFree account. Here’s how I set it up:
- Log in to your InfinityFree account.
- Get the FTP credentials:
- FTP Server: Typically, InfinityFree uses
ftpupload.net. - FTP Username: Your InfinityFree account username.
- FTP Password: The password for your InfinityFree account.
- FTP Server: Typically, InfinityFree uses
- Identify the Deployment Directory: For InfinityFree, the directory path for your primary domain typically follows
/yourdomain.com/htdocs/.
⚠️ Note: Make sure to double-check the target directory path; otherwise, you risk overwriting files in the wrong location, which could cause site errors.
Step 2: Setting Up GitHub Actions Workflow
The real power of CI/CD lies in defining workflows that automate the deployment process. GitHub Actions lets us do that by configuring YAML files within a .github/workflows/ directory in the repository.
-
Create the Workflow Directory: In the root of the repository, create a folder called
.github/workflows. -
Create the Workflow File: Inside
.github/workflows/, create a file nameddeploy.yml. This file will contain our workflow instructions for deployment. -
Define the Workflow Configuration: Here’s the configuration I used for my InfinityFree deployment:
yamlname: Deploy to InfinityFree on: push: branches: - main # Adjust if you want to use a different branch jobs: deploy: runs-on: ubuntu-latest # Virtual environment to run the job steps: - name: Checkout code uses: actions/checkout@v2 # Pulls the latest code onto the runner - name: Install PHP (optional) uses: shivammathur/setup-php@v2 # Sets up PHP for linting (if needed) with: php-version: '7.4' # Adjust based on server requirements - name: Validate PHP Syntax (optional) run: | find . -name "*.php" -print0 | xargs -0 -n1 php -l # PHP syntax validation - name: Deploy to InfinityFree via FTP uses: SamKirkland/FTP-Deploy-Action@4.1.0 with: server: ftpupload.net # Replace with your actual FTP server username: ${{ secrets.FTP_USERNAME }} # Securely stored in GitHub Secrets password: ${{ secrets.FTP_PASSWORD }} # Securely stored in GitHub Secrets local-dir: ./ # Root directory of the repository server-dir: /yourdomain.com/htdocs/ # Target directory on InfinityFree
Breakdown of the Workflow Configuration
- name: Sets the workflow’s name.
- on: Defines the trigger; in this case, it’s configured to run on pushes to the main branch.
- jobs: Contains all actions the workflow will perform, like setting up environments and deploying files.
- runs-on: Specifies the virtual machine environment (in this case, Ubuntu).
- steps: Defines individual actions:
- Checkout code: Pulls the latest code to the runner.
- Install PHP: Sets up PHP, helpful for any PHP-based linting.
- Validate PHP Syntax: Checks for PHP syntax errors.
- Deploy to InfinityFree via FTP: Deploys files using
SamKirkland/FTP-Deploy-Action.
Step 3: Configuring GitHub Secrets for Secure FTP Credentials
Hardcoding sensitive information, like FTP credentials, in a workflow file is a security risk. Instead, I stored them as secrets in GitHub, which keeps them secure and accessible only within workflows.
- Go to Settings > Secrets > Actions in the GitHub repository.
- Add the following secrets:
- FTP_USERNAME: The FTP username for InfinityFree.
- FTP_PASSWORD: The FTP password for InfinityFree.
In the deploy.yml file, these credentials are accessed securely as ${{ secrets.FTP_USERNAME }} and ${{ secrets.FTP_PASSWORD }}.
Step 4: Triggering the Workflow
With everything set up, it’s time to test the workflow.
- Push Changes to the main branch.
- Monitor GitHub Actions:
- Navigate to the Actions tab in your GitHub repository.
- Select the running workflow to view logs, errors, and the deployment status.
The workflow will start each time code is pushed to the main branch, eliminating the need for manual deployment.
Step 5: Verifying the Deployment
To verify the deployment:
- Access the Site: Visit your website (e.g.,
https://yourdomain.com) to see if the latest changes have been applied. - Confirm Updates: Ensure that recent code changes reflect live on the site, validating that the CI/CD pipeline is working as expected.
Troubleshooting Common Issues
Setting up CI/CD on InfinityFree comes with some potential pitfalls. Here are a few common issues and solutions:
-
Deployment Failed Due to Incorrect Directory Path: Double-check the
server-dirpath indeploy.yml. For the primary domain, it should look like/yourdomain.com/htdocs/. -
Invalid FTP Credentials: Ensure that the FTP username and password stored in GitHub Secrets match those in InfinityFree.
-
FTP Timeout or Rate Limit: InfinityFree can sometimes restrict FTP access during high-traffic times. If you encounter timeouts, try deploying during non-peak hours or reduce the frequency of deployments to avoid rate limiting.
Conclusion
With this setup, I’ve been able to save time and ensure consistency across my hosted projects on InfinityFree. The GitHub Actions workflow takes care of all deployment steps automatically, providing a smooth, hands-off experience for every code change.
This CI/CD pipeline is not only efficient but also highly secure with GitHub Secrets, which safeguard sensitive information. I hope this guide helps you set up a similar workflow, automating deployment for a faster and more reliable web development process.
Happy deploying!